When I finally got back to my project, I had to make it pretty, personalize it, and add button to keep the sides closed. I started with a strap across the top to break up the red and give me something to pull when I take the cover off.
I used the excess fabric from the flaps, folded it over a couple times (raw edge in) and then sewed two lines up the sides. I attached it in four places with a decorative stitch.
I used the same decorative stitch to divide the large pockets into 3 small ones on one side and two (one large for the pedal and wired, and one small) on the other side.
I also wanted to break up the pockets with a personal touch, so I cut out two hearts from the excess red fabric and hand stitched them on, one on each side.
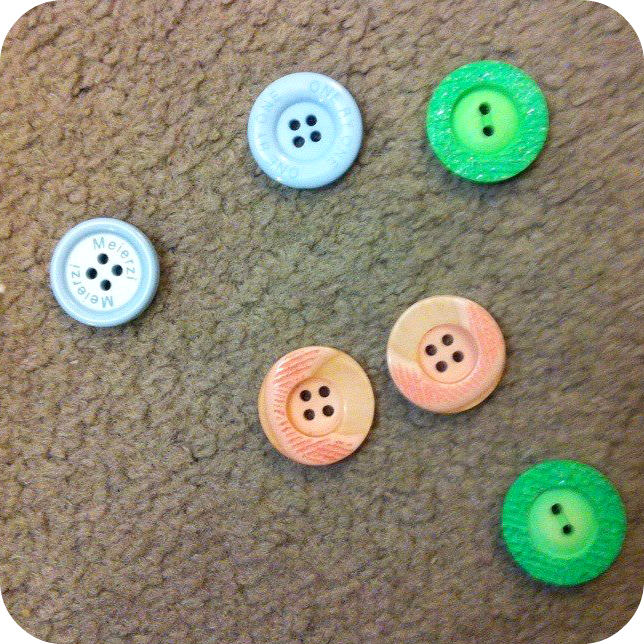
I knew from the beginning that I wanted to use red buttons for this. I didn't have any red buttons, nor the desire to go all the way to fabricland just for some buttons. Instead, I raided my craft box for my bag of dollar store craft buttons.
Super ugly reject buttons. That didn't match at all. But I had a solution:
It took a few coats (it looked pink in areas and some of the green shone through), but in the end, it looked quite nice.
The first button I attached to the large pocket, as it gaped a lot with the pedals in it. I used one of the extra "strings" that I cut off the sham at the beginning of the project to make a loop for the button. I sewed that on by hand and cut off the excess.
I sewed on three buttons per side down both sides. I quickly realized that I would not have enough of the black and white string, so I went back to my scrap box for some red ribbon. I folded that in half and machine stitched down the side as close to the edge as possible, and then cut it to length. I made the loops in the same manner as above, alternating between red ribbon and black and white string. I used a lit incense to melt the ends of the ribbon to prevent fraying.
Lastly, at the very logical suggestion made by the BF, I decided to make a hand-hole in one side so I could pick up the sewing machine by the handle with the cover still on. Basically, I made a giant buttonhole. I put the cover on the machine and marked out where the handle was with charcoal. I then stitched around the line with another decorative stitch. I used a seam ripper to start the cut and finished it with my fabric scissors. I decided to keep the raw white edges for the contrast.
And that was that! Even though it's not perfect, I'm proud of my first finished sewing machine project.
Here are photos of the final finished product.
 |
| Qi would not leave the backdrop alone until I took some pics of him for my blog. |


